
Choose a spot that is easy to reach from the kitchen or garden, has decent drainage, and will not bother neighbors. Shade can help keep the pile from drying out too quickly.
How to use this page
Pick one project that fits your space and repeat it until it works.
These projects are meant to be simple enough to start, but deep enough to teach useful skills. Choose one that matches your space, budget, climate, and time. Learn from the first version before expanding.
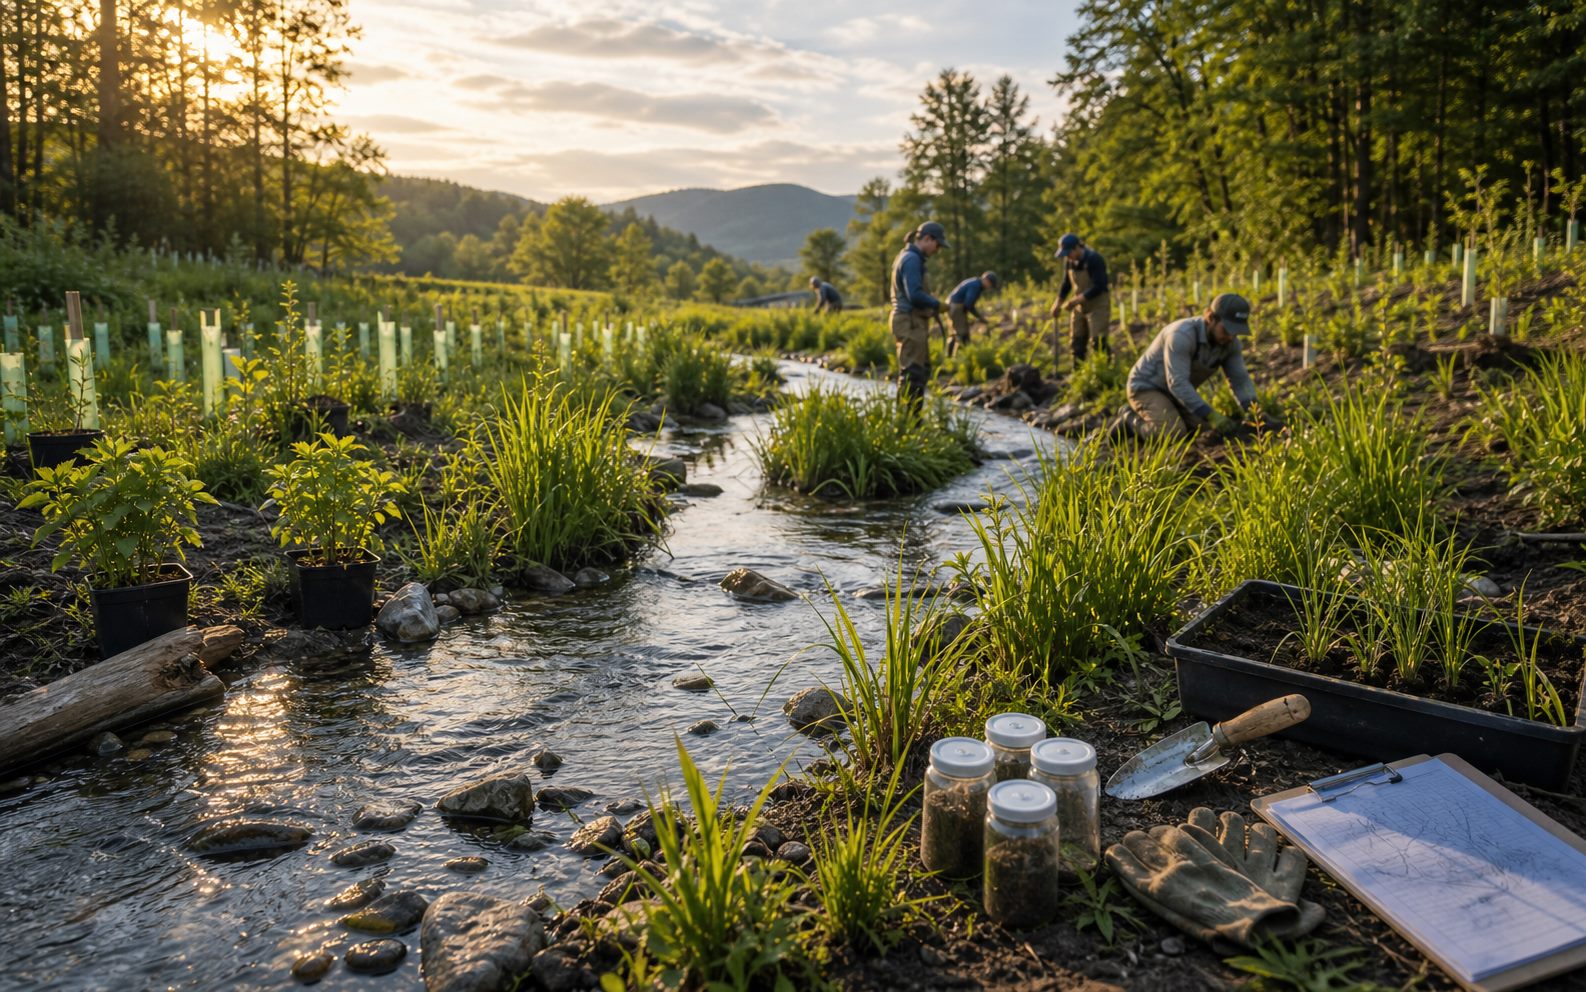
Project 1 • Soil building
Compost station
A compost station turns food scraps, leaves, grass clippings, and garden trimmings into a soil-building material. It also helps people see waste differently: much of what leaves the house can become part of a healthier yard.
A bin, pile, tumbler, or simple three-sided bay; a container for kitchen scraps; dry leaves or shredded paper; and a way to turn or mix the pile.
Mix nitrogen-rich greens such as food scraps with carbon-rich browns such as leaves, straw, cardboard, or shredded paper. If it smells bad, add dry browns and airflow.
Once the first system works, add a leaf-mold area, worm bin, second bay, or finished-compost storage area for garden use.
Simple first version
- Pick one container or pile location.
- Collect fruit and vegetable scraps, coffee grounds, leaves, and yard material.
- Add dry leaves or paper whenever the pile gets wet or smelly.
- Turn or loosen the pile occasionally so air can move through it.
- Use finished compost as a top dressing around plants, not as a cure-all.
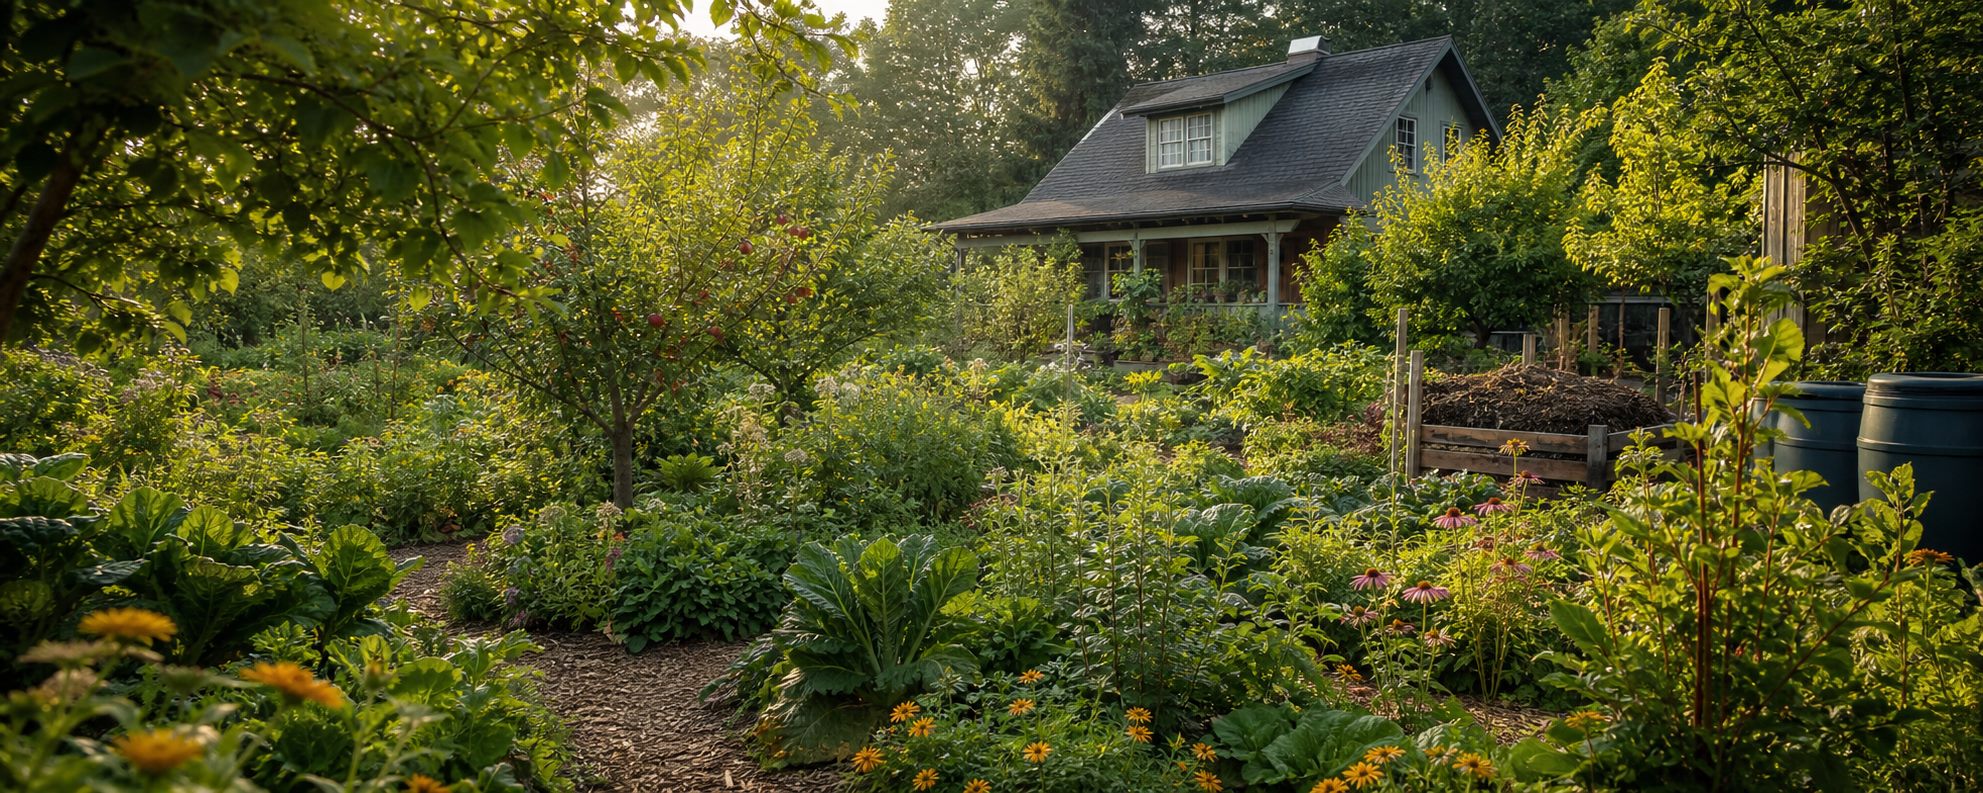
Project 2 • Covered soil
Mulched bed
A mulched bed is one of the simplest ways to improve soil, reduce weeds, protect roots, and keep moisture available longer. It can be a vegetable bed, herb bed, native planting, or small edible border.
Start near water and regular foot traffic. If the bed grows food, choose a sunny spot and avoid areas with unknown contamination unless soil is tested or contained.
Cardboard or newspaper, compost, leaves, straw, wood chips for paths, hand tools, and plants suited to your site.
Do not pile mulch against plant stems or tree trunks. Keep soil covered, but leave breathing room around crowns and woody bark.
Add drip irrigation, companion flowers, perennial herbs, path mulch, or a second bed once the first one is easy to maintain.
Simple first version
- Choose a small bed outline that you can reach from every side.
- Remove problem weeds or smother lawn with cardboard where appropriate.
- Add compost or good topsoil where needed.
- Plant a small number of useful plants.
- Mulch the exposed soil and keep the bed watered while roots establish.

Project 3 • Habitat and food
Herb or pollinator strip
A narrow planting strip can provide herbs, flowers, habitat, and beauty without requiring a full garden redesign. It is a strong starter project because it works in small yards, patios, edges, school spaces, and community sites.
Use a sunny edge, path border, patio container row, fence line, or unused strip where people will notice and maintain it.
Native or climate-suitable flowering plants, culinary herbs, compost, mulch, labels, and a watering plan for establishment.
Choose plants with different bloom times, heights, and root patterns. Avoid invasive plants, and check local guidance before planting near natural areas.
Add a small water dish for insects, more native plants, seed heads for birds, or a nearby vegetable bed that benefits from pollinator activity.
Simple first version
- Pick a strip or container group with enough sunlight.
- Choose three to five reliable plants instead of too many varieties.
- Group plants by water needs.
- Mulch lightly and water until roots establish.
- Observe which plants attract insects and survive with the least fuss.
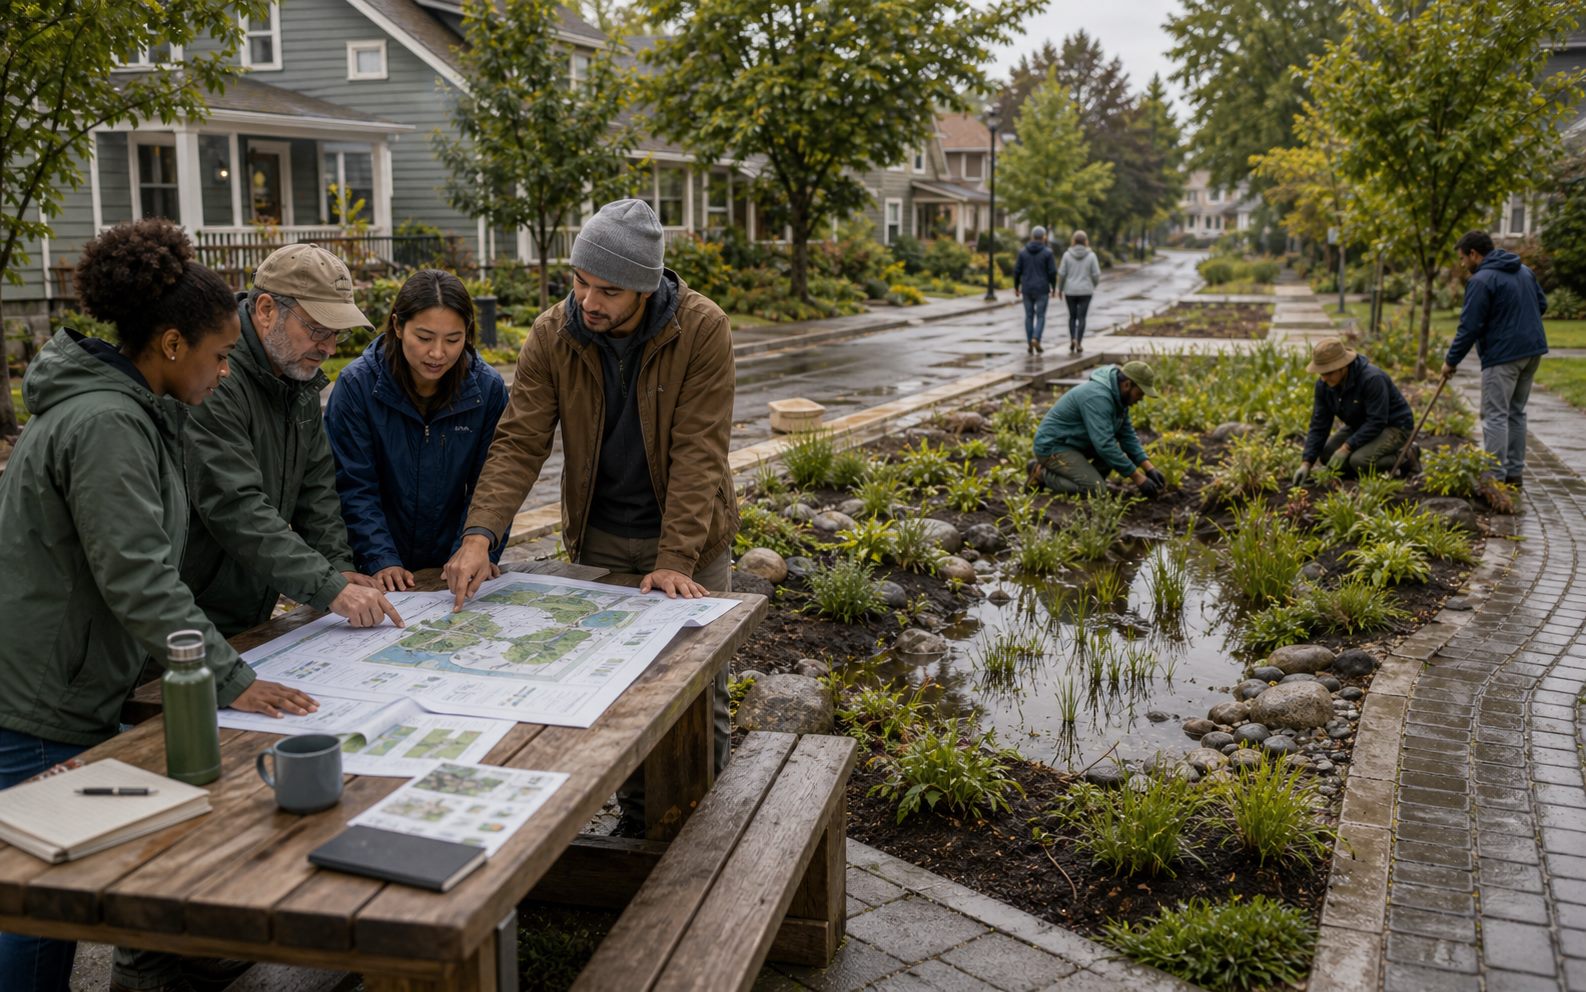
Project 4 • Water that stays useful
Rain garden area
A rain garden is a planted area designed to receive runoff from a roof, driveway, path, or low spot. The idea is to slow water, let more soak in, reduce erosion, and support plants that can handle wet and dry periods.
Use a safe low area that receives runoff, but keep it away from foundations, septic systems, buried utilities, and unstable slopes. Local rules matter.
A site observation after rain, native or regionally suitable plants, mulch, simple grading tools, and local stormwater guidance.
A rain garden should drain after storms rather than hold standing water for long periods. If water remains too long, redesign or ask for local help.
Connect it to downspout planning, permeable paths, swales where appropriate, native plantings, or a larger stormwater plan.
Simple first version
- Watch where water flows during a normal rain.
- Choose a small, safe receiving area.
- Check local guidance before digging or redirecting water.
- Plant species that tolerate both wet and dry conditions.
- Mulch, maintain, and adjust after the first few storms.
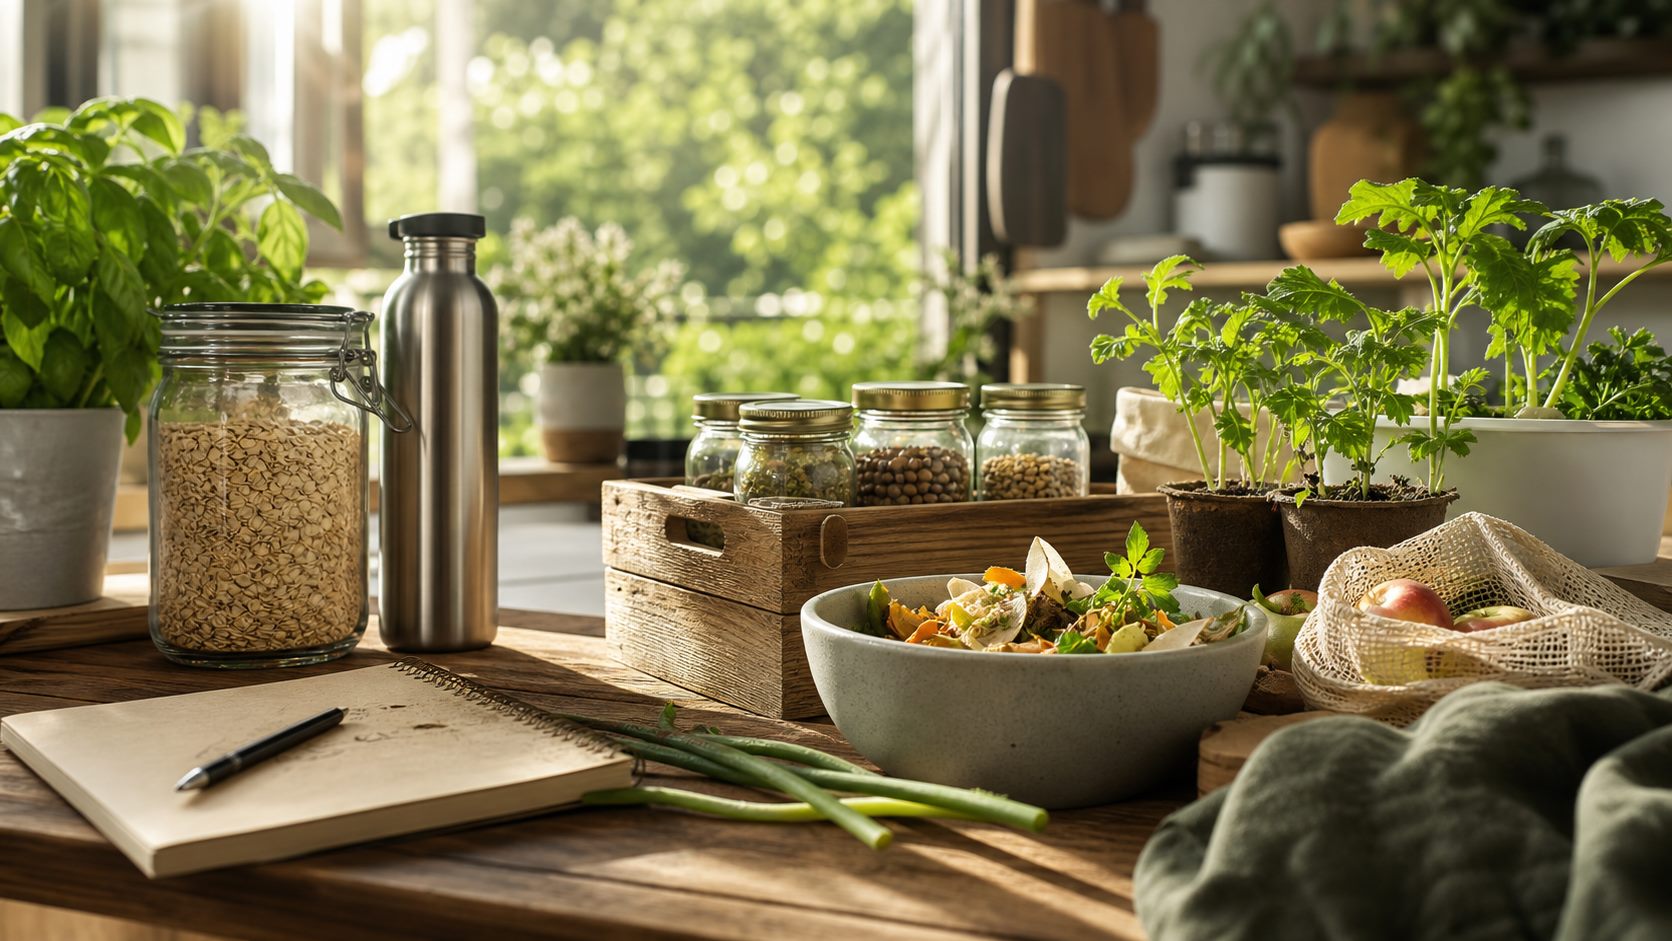
Project 5 • Cooling and comfort
Shade tree plan
A well-placed tree can cool a home, shade a patio or sidewalk, support wildlife, reduce heat stress, and make outdoor spaces more usable. The right tree in the right place matters more than planting quickly.
Look for places where mature shade will help, but avoid conflicts with power lines, roofs, foundations, sewer lines, sidewalks, and visibility near roads.
A site sketch, mature tree size, local species guidance, watering plan, mulch ring, and protection from mowers or foot traffic.
Water deeply during establishment, mulch outward instead of upward, and do not volcano-mulch against the trunk.
Add understory plants, leaf mulch areas, seating, a pollinator strip, or a long-term home cooling plan.
Simple first version
- Map sun, utilities, buildings, and pavement.
- Choose a tree suited to local climate and mature space.
- Plant at the correct depth and water carefully.
- Add a wide mulch ring with the trunk flare visible.
- Protect the young tree for the first several seasons.

Project 6 • Layered food and habitat
Food forest corner
A food forest corner uses layers instead of rows: a small tree, shrubs, herbs, groundcovers, flowers, mulch, and sometimes vines or root crops. It can produce food while also supporting shade, habitat, soil, and water retention.
Start with a manageable corner that has enough sun, access to water, and room for mature plant size. Avoid planting too densely at the beginning.
One small fruit or nut tree where suitable, two or three shrubs, perennial herbs, pollinator plants, compost, mulch, and clear paths.
Plan for pruning, harvest, pests, and access. A food forest that cannot be reached or maintained will become frustrating.
Add more layers over time: berries, nitrogen-fixing plants where appropriate, flowers, groundcovers, mushroom logs, or a compost connection.
Simple first version
- Pick one small corner and draw the mature plant sizes.
- Plant the anchor tree or shrub first.
- Add mulch and one or two supporting plant groups.
- Leave enough walking and harvest space.
- Observe for a season before adding more layers.
Useful references
Use local guidance whenever possible.
- USDA NRCS: Soil HealthSoil health principles for covered soil, roots, organic matter, and reduced disturbance.
- EPA: Green InfrastructureStormwater and nature-based water management basics.
- USDA National Agroforestry CenterAgroforestry practices and layered land-use concepts.
- SARE: Building Soils for Better CropsPractical soil-building information for resilient growing systems.